Wrapping Textures & Rendering
Importing
Material/Textures
Rendering
Lights
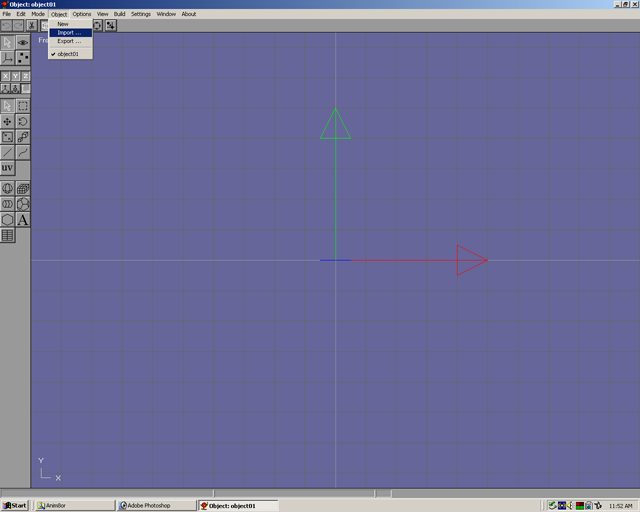
Step 01
Open the program Anim8or. Select object, then import.
Step 02
Change files of type from 3D Studio(3ds) to Wavefront(obj). Select the uvmapped model.
Step 03
Press the arrow button in the top left area. This is selection or manipulation mode. Also select the two small boxes button to scale uniformly. At the center of the axis is the model. Sometimes it may not be visible.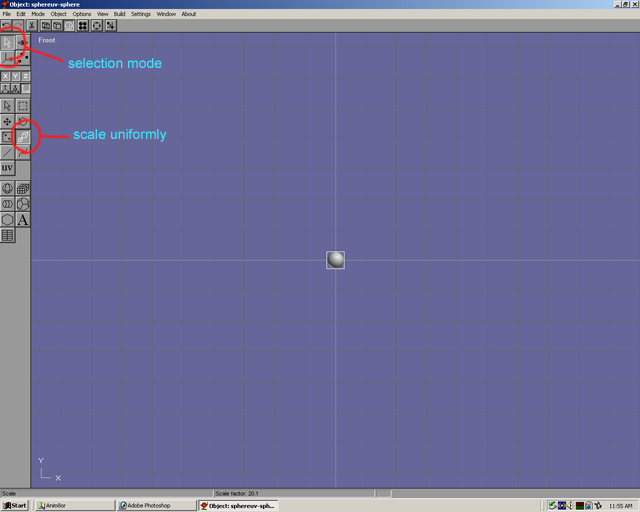
Step 04
At the center of the axis hold down the left mouse button and move the mouse up. This will make the model larger.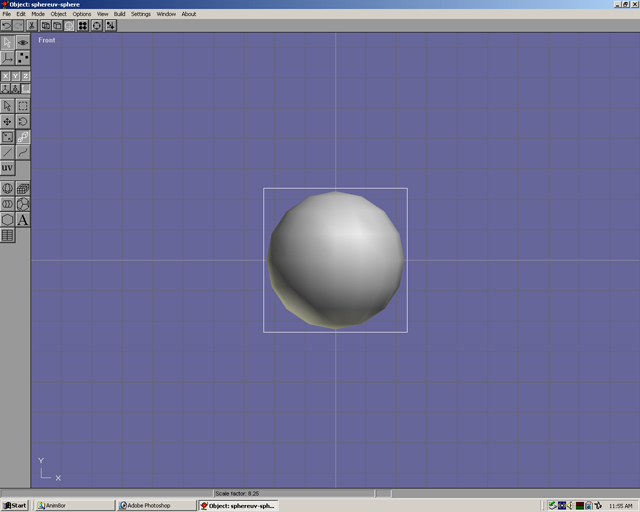
Step 05
Select options, then materials. A materials side bar will appear. At the top of the materials side bar click on the File tab. Click on “New” twice with the left mouse button. A materials dialog box will appear.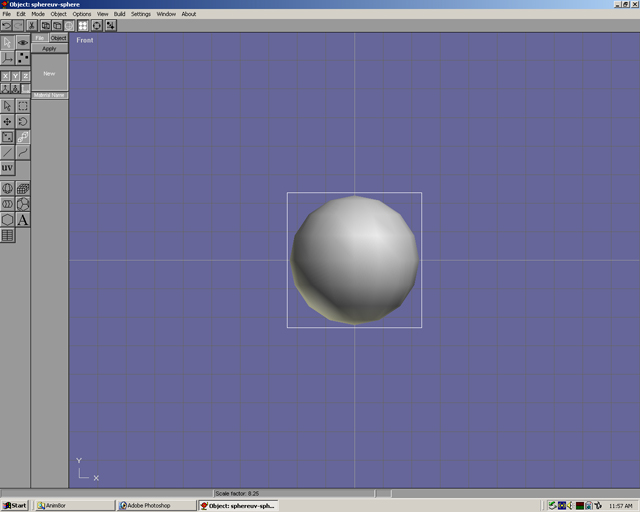
Step 06
Select the textures button. A surface texture editor dialog box will appear. 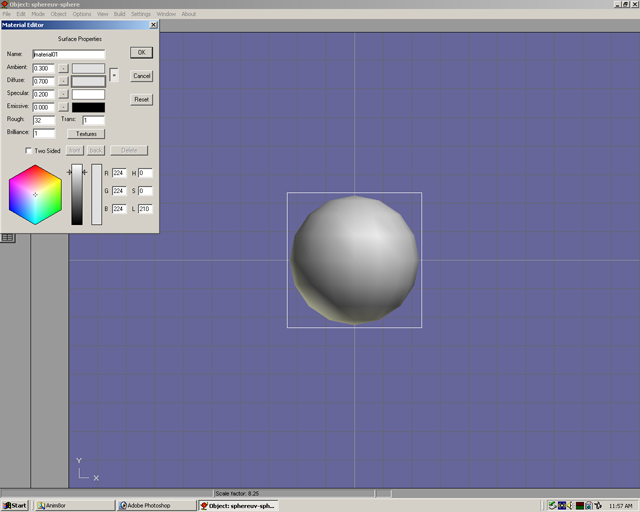
Step 07
In the surface texture editor dialog box select under Diffuse select the “...” box.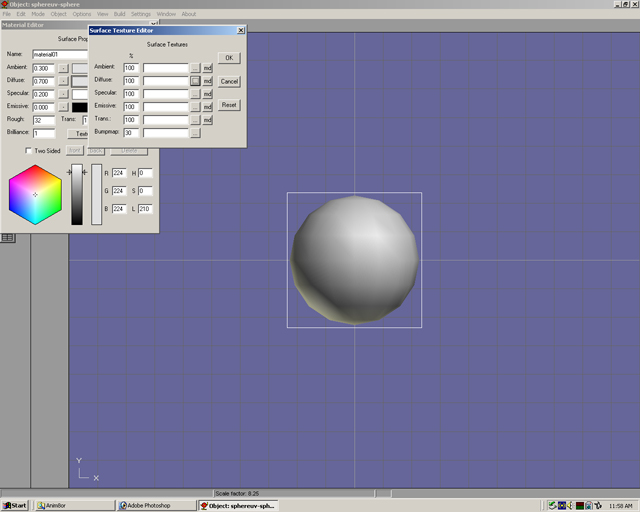
Step 08
In the texture selector box press the load texture box.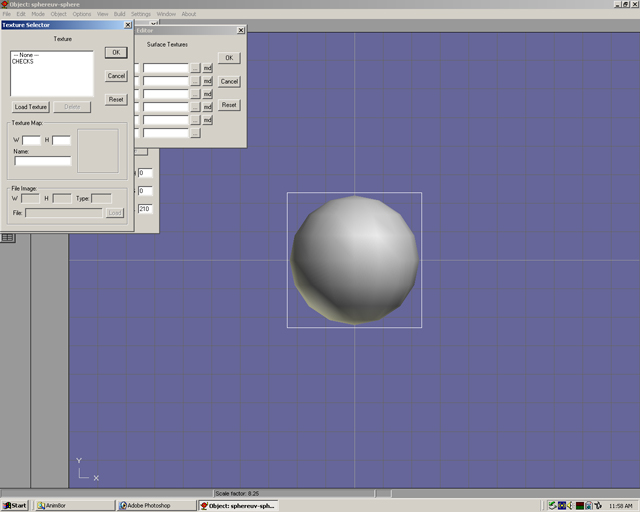
Step 09
Find the directory where you saved your sphere.jpg texture. Change the files of type to Jpeg.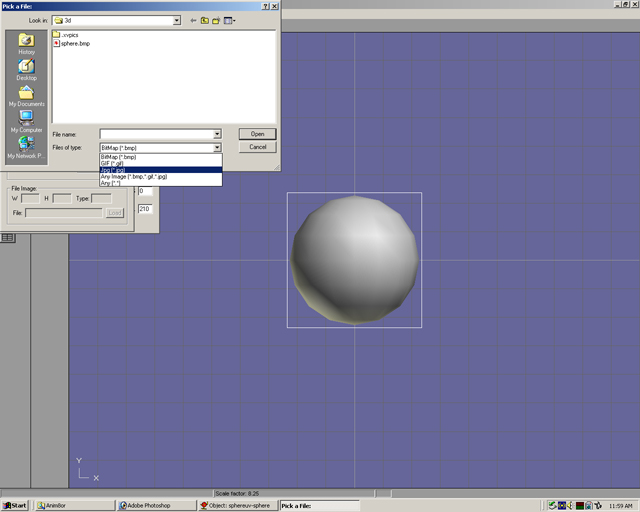
Step 10
Select the texture image and press open. It may take a little bit for the Texture selector to load the image.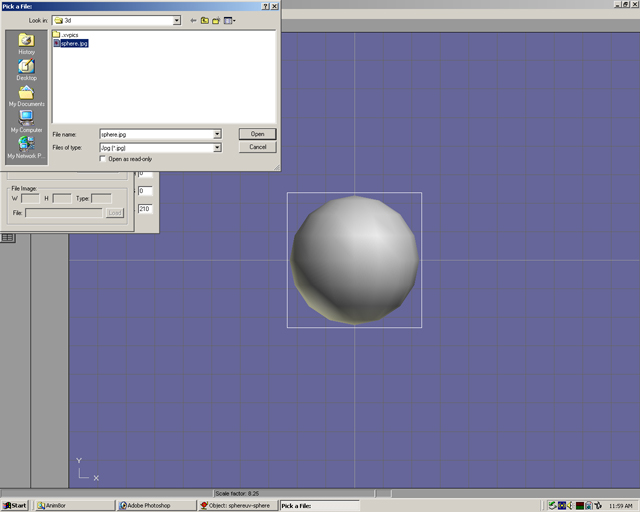
Step 11
Select the texture name, then ok. Select ok to each dialog box until there are no more texture dialog boxes.
Step 12
In the material sidebar the texture will appear . If the model is not selected, use the select mode and select the arrow. Left click on the model. It should be highlighted with a white box if it already is not. Now click on the apply button above the texture.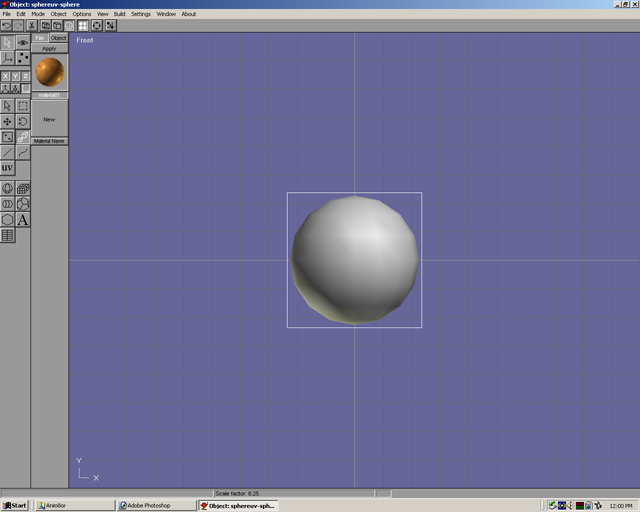
Step 13
The texture will now appear on the model.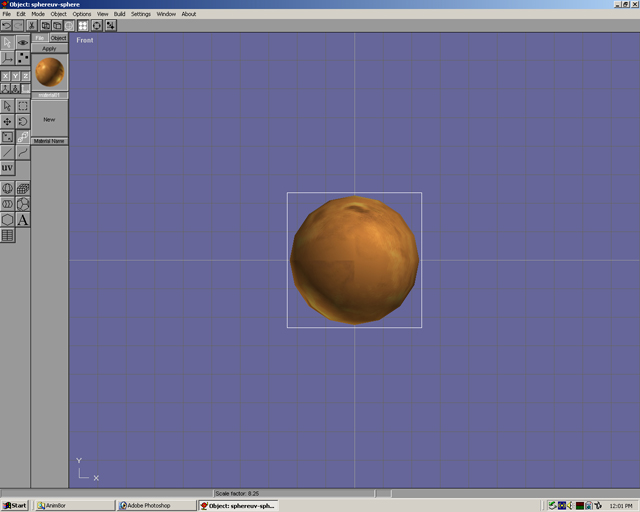
Step 14
Select view, then perspective.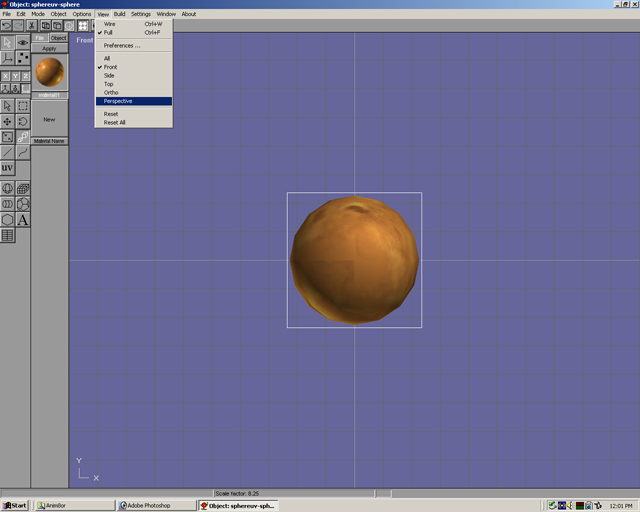
Step 15
The model is in perspective view 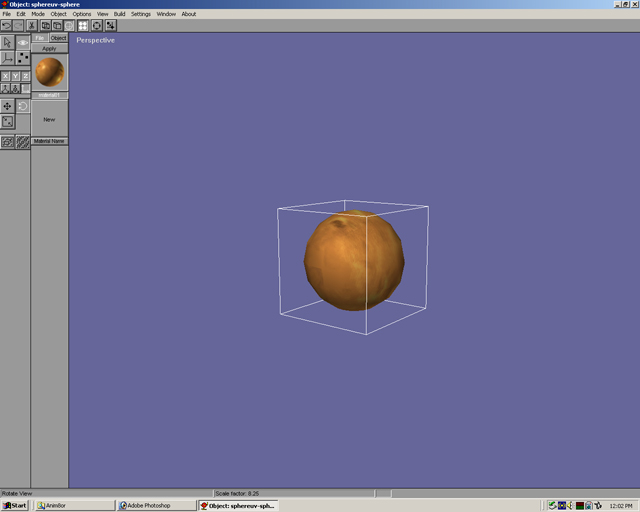
Step16
Select mode, then scene.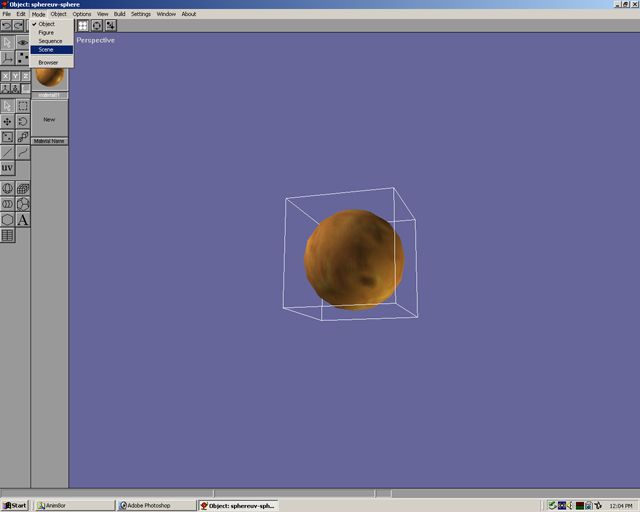
Step 17
Select build, then add object.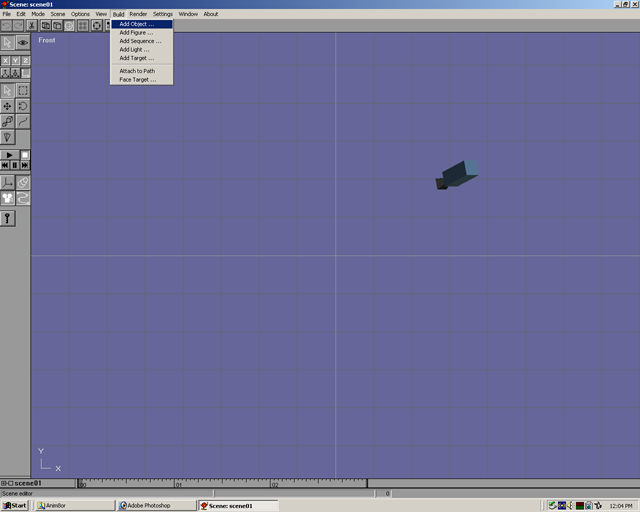
Step 18
Select the object name so it is highlighted, then ok.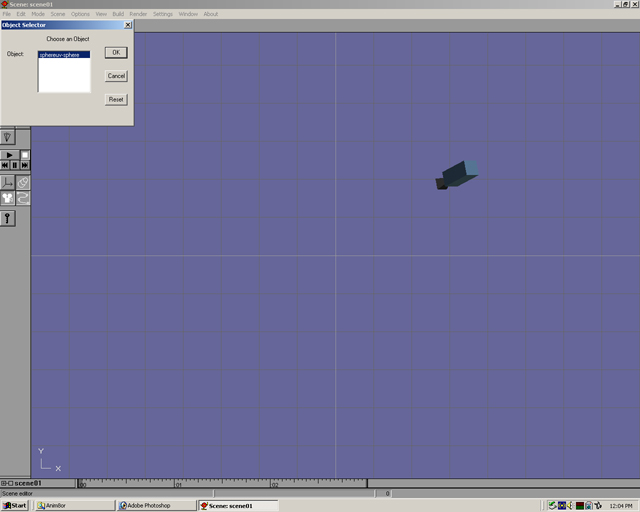
Step 19
The object is now in the scene. Select view, then perspective.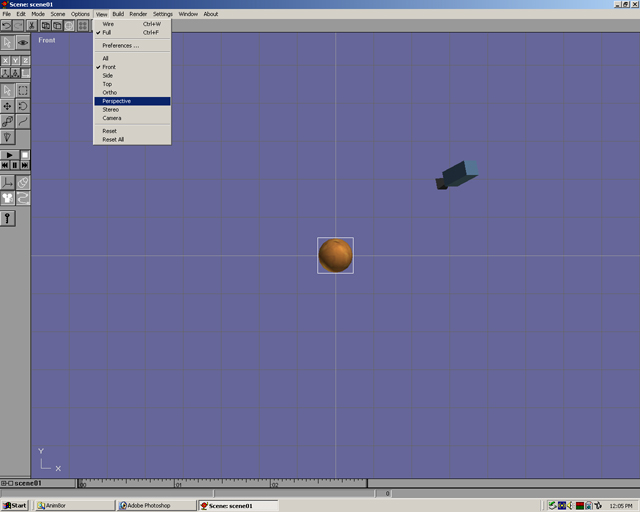
Step 20
Half of the sphere is shown. Now select view, then all.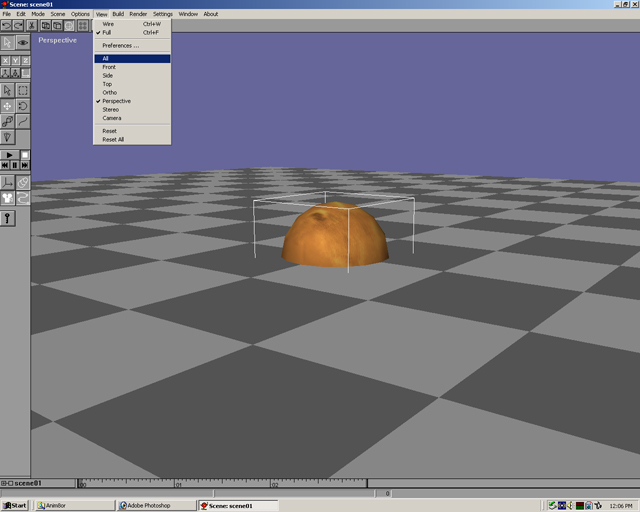
Step 21
There are now 4 viewpoints.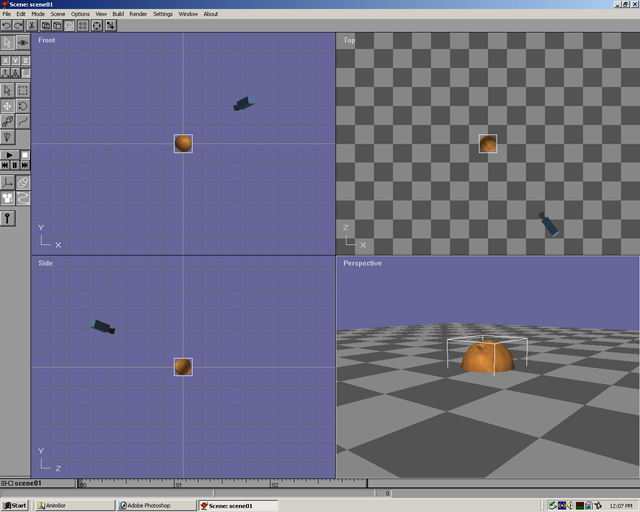
Step 22
Select the sphere. To move it up the y axis use the selection mode(arrow) and select the cross shape. Click on the sphere and move it up.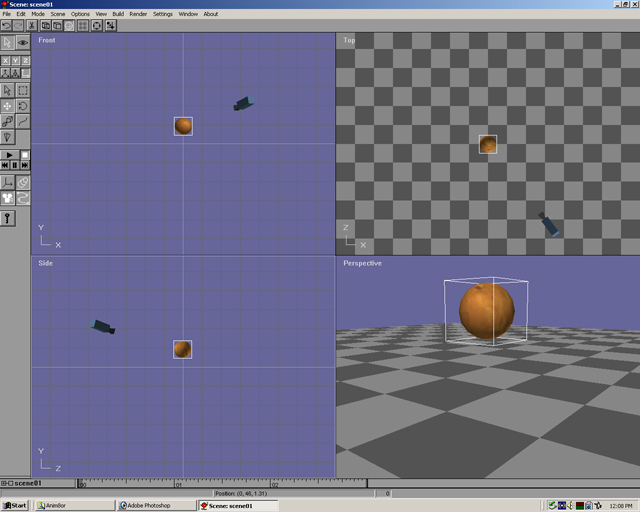
Step 23
Left click on the mouse on the perspective viewpoint. A small outling will surround the viewpoint that has been selected. Select render, then preview. In the frame spec editor dialog box change the width to 640 and height to 480. Check antialiased. Next to the background color, select “...”.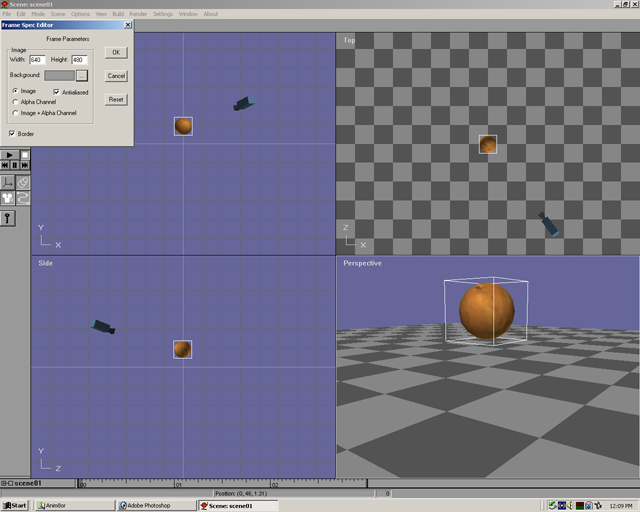
Step 24
Move the two arrows from gray to black. Select ok. Select ok again to render.
Step 25
This is a rendered scene with default lights.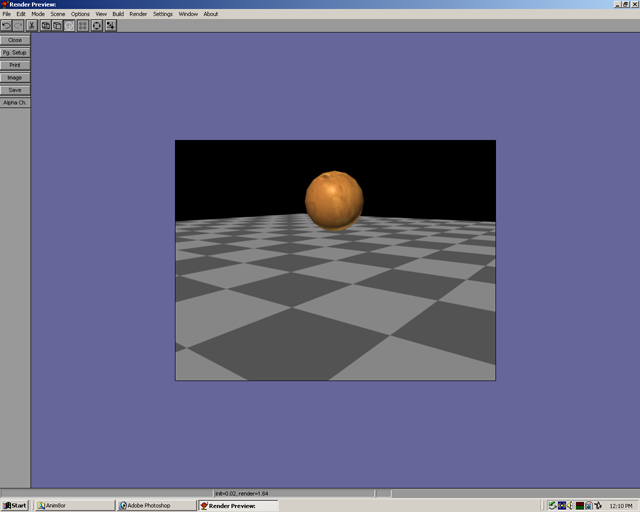
Step 26
To add a light. Select build, then add light.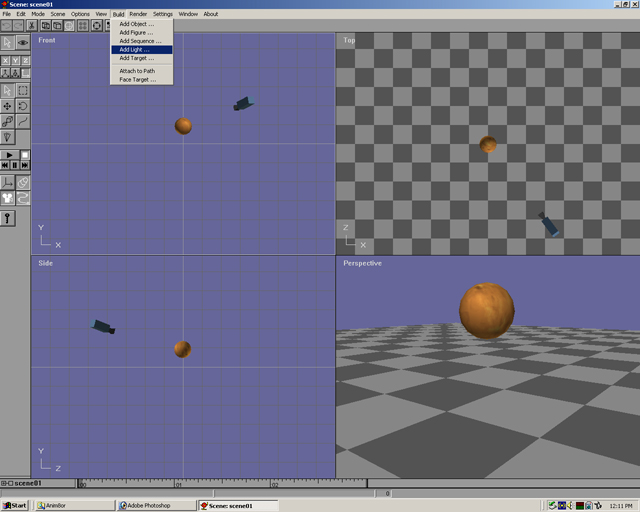
Step 27
To change the type of light, Make sure the light is selected(white box outline) and left click twice on the light. There are 3 choices. Infinite(like the sun), Local(like a light bulb), and Spot(like a spotlight). Select one. In that same dialog box the brightness can be changed. Select the “...” next to the color box. Move the color up or down to control the lightness or darkness of the light.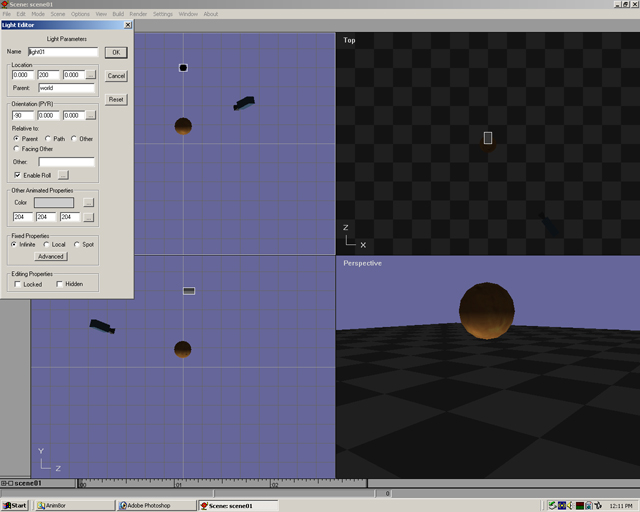
Step 28
Notice that the local light has been selected.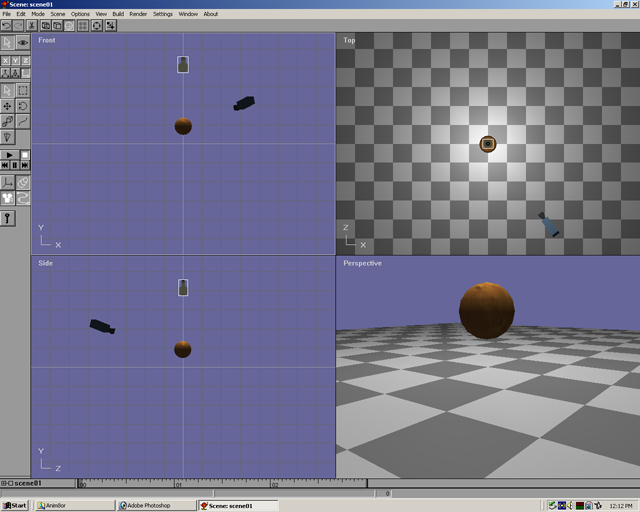
Step 29
Move the local light(cross in selection mode) until it has reached a desired lighting level.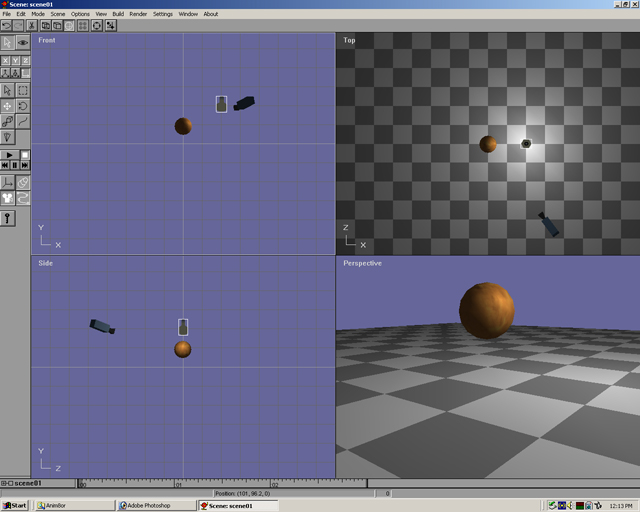
Step 30
Select view, then perspective. Go into look mode in the left hand corner by selecting the eye symbol. Use the move(cross), rotate(backwards 'C' ) and/or scale/zoom(square) to make the camera view change to a desired viewpoint.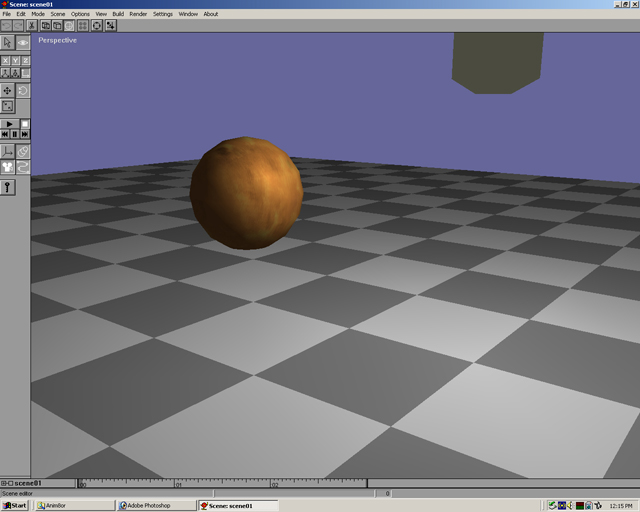
Click to go back - Painting Textures
Click to move on - Bump Mapping